
Howdy, y'all!
I'm not sure where that burst of Texas style welcome came from, but I'm running with it.
Today I want to do a post that is true to the original identity of my blog, which means I'm talking DIY and decor! If that's not up your alley, don't stop reading yet because this one is really easy and makes a huge difference!
You might have seen my post here where I mentioned that my parents gave Mark and I their kitchen table and chairs. This table has been around my family for at least 60 years, although the timeline gets a little fuzzy before 1975. My dad refinished the table when my parents got married (30+ years ago) but it's seen a lot of wear since then.

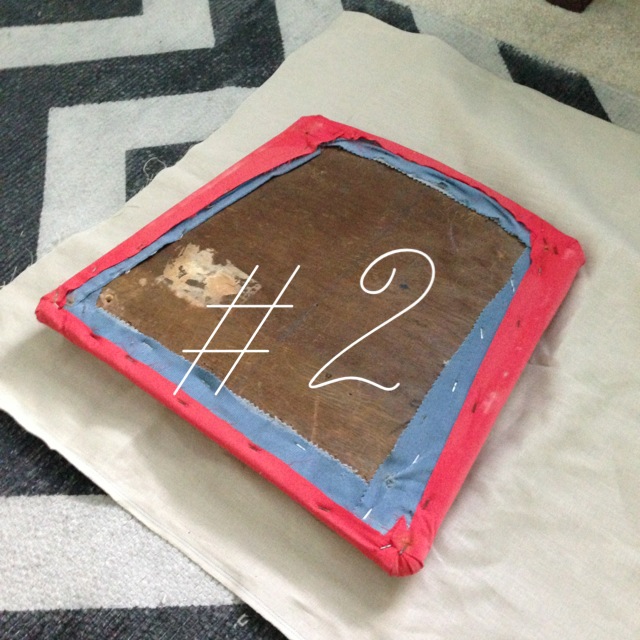
To go along with the infamous "peter pan" carving on the table top (kudos to my sister Angela for slipping that past the parents), there are no less than 3 layers of fabric on each seat cushion, serving as a timeline of trends and bad decisions over the years. The worst decision might have been the bright red cotton fabric with a heavy duty plastic overlay, courtesy of my mother and a decision that has lived with them (and my sister and I) for the last 15+ years. Since we didn't see the incorporation of red + polystyrene working into the decor of our home, I jumped on the chance to go to Joann Fabric, snag something more 'my style', and reupholster these bad boys!

Read along with my process:

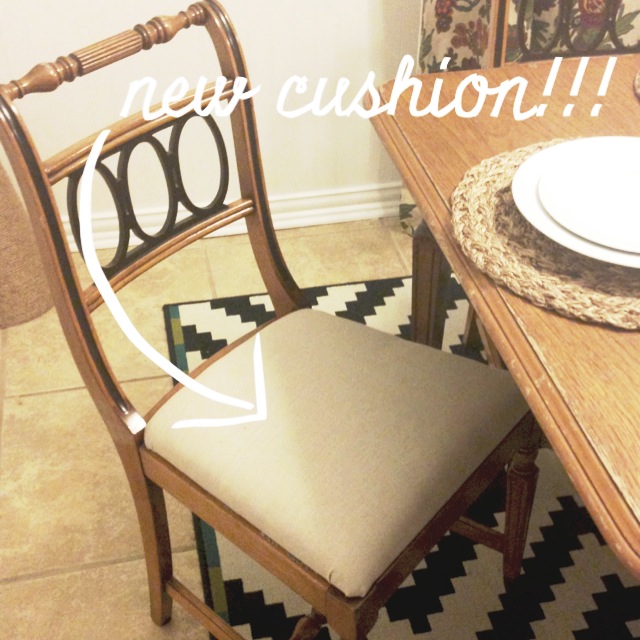
here's where we are.........and here's where we want to be!

Step 1: remove the cushion from the chair. Easy peasy!
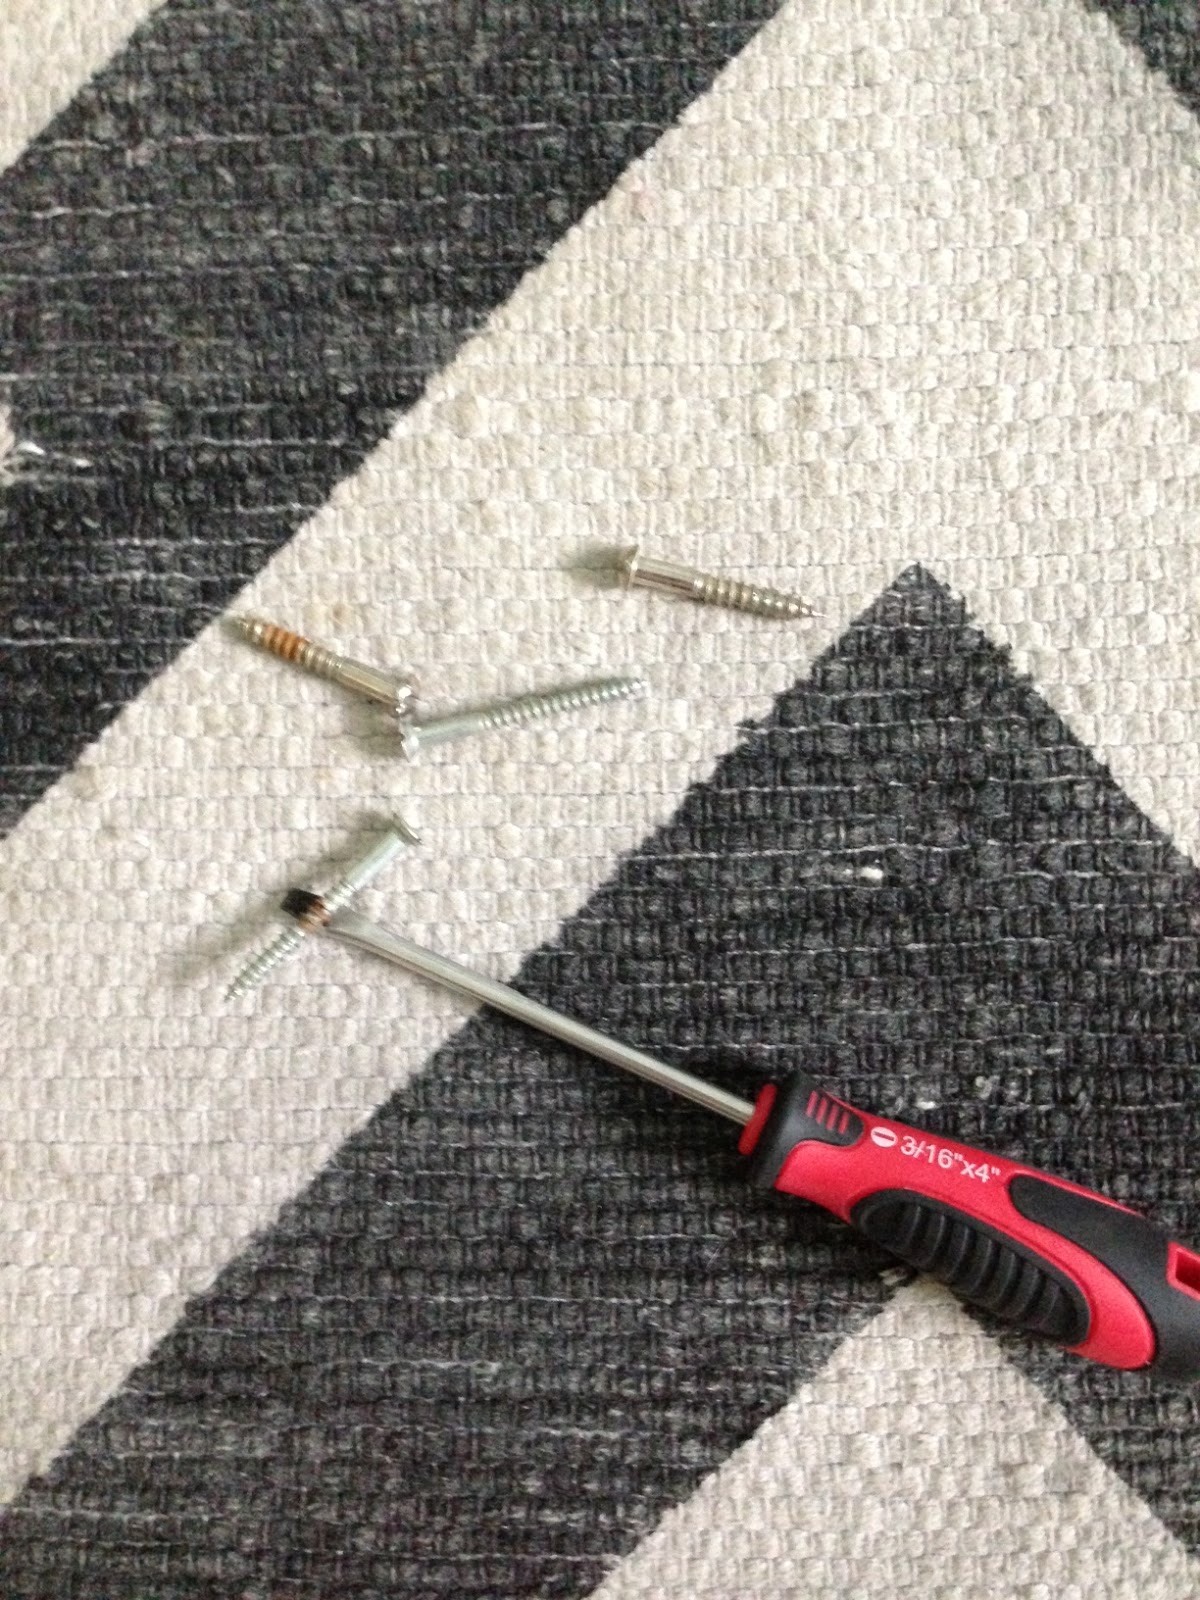
casualties
I bought 2 yards of linen suiting at Joann. I wasn't even sure what I wanted when I went in the store, but I stumbled across this neutral and natural looking fabric and I thought it would be a good compliment to the space. The fabric was on sale for $11.99, which is more than I typically spend on fabric (I'm cheap) but I liked it and only needed 2 yards, so I went with it.
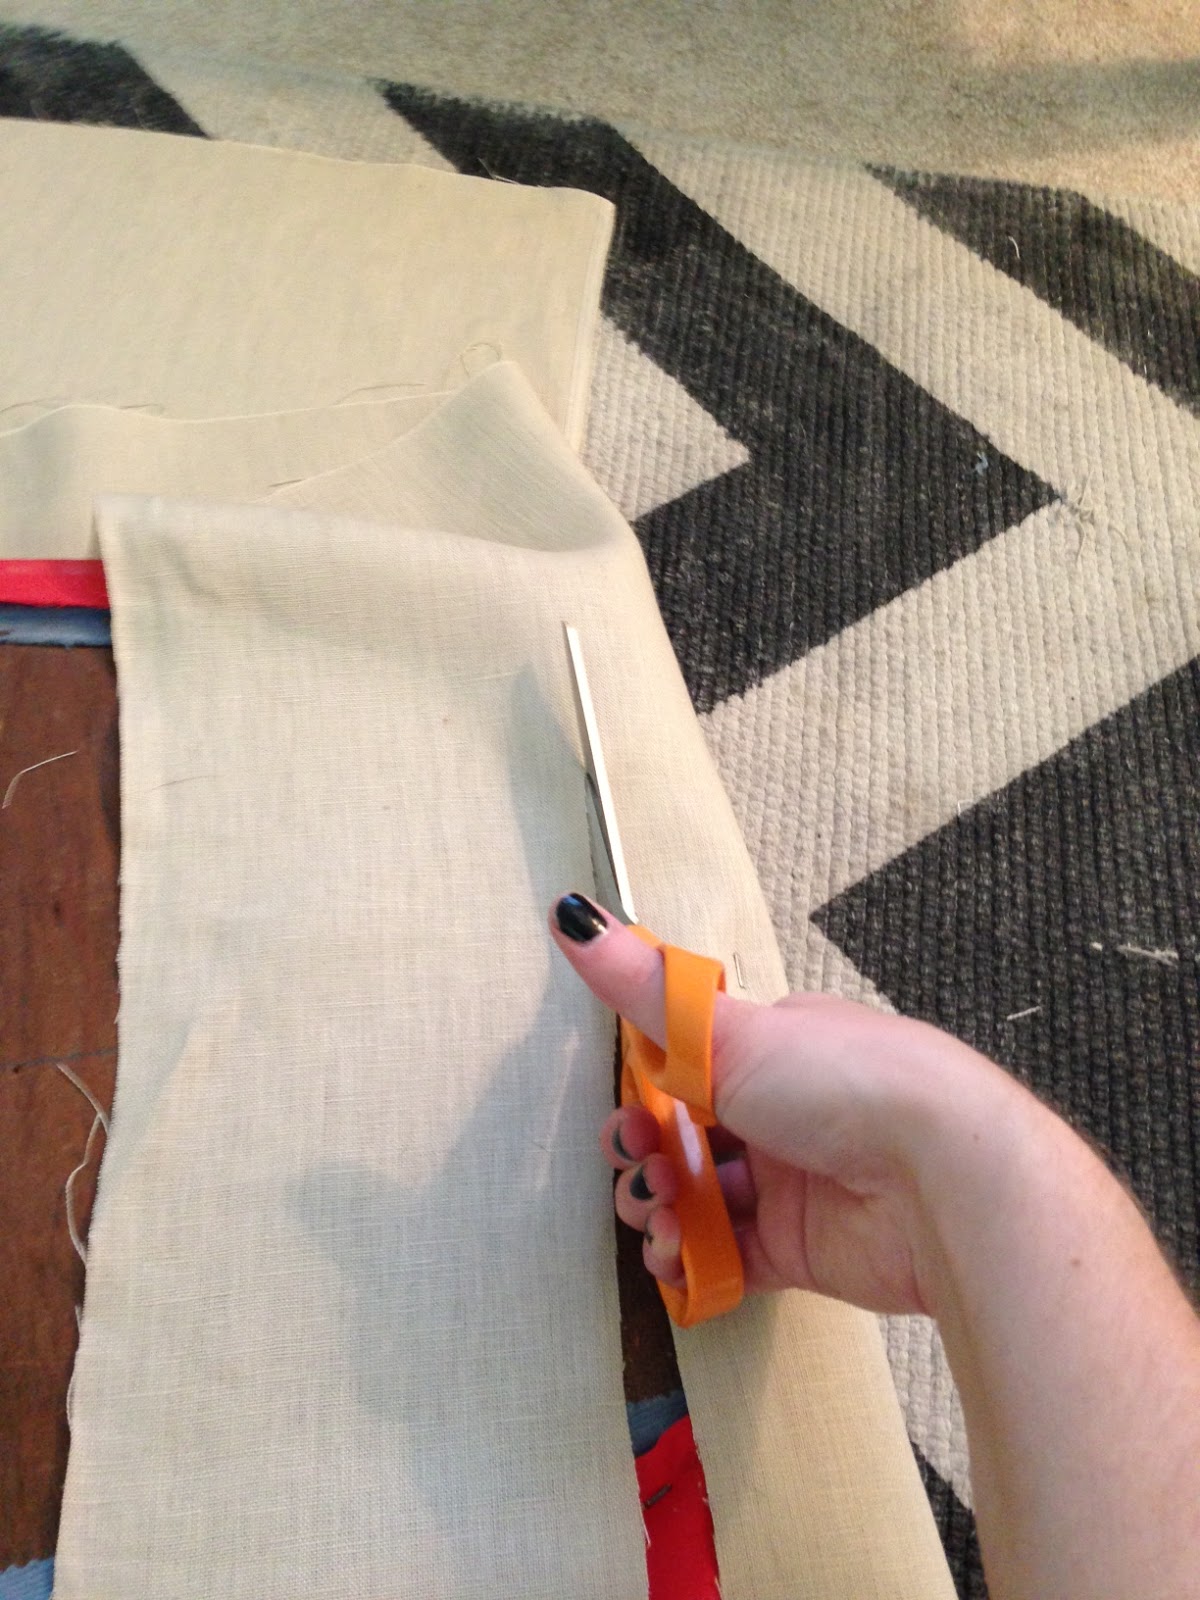
Step 2: lay out your fabric and cushion for sizing.

I laid out the fabric, folded it, and placed the cushion for a size reference.

Then I cut the fabric (still folded in half) and cut the pieces into thirds for 6 cushions. After I had my thirds cut, I just sliced at the fold to make a total of 6 pieces.

Step 3: Break out the iron (also called a skateboard by my nephew Mason)

I filled up the water reservoir and set the iron on medium heat for fear of burning the linen.

See those wrinkles at the top? This fabric is prone to wrinkle so even though you will stretch it, it is important to iron it first. I ironed it smooth and then laid it on the ground until I was ready to use it.

Step 4: Staple, staple, staple!

I purchased a light duty staple gun at Joann's. I laid the fabric the way I wanted it to run on the cushion (also important-decide this before you start!) and folded up one edge and put a staple in the middle.
I cut off the excess, and then repeated the staple on the opposite end of the chair, to be sure that the fabric was laid correctly and didn't skew when stretched. I would turn the cushion over after every few staples to check that it was looking how I wanted it to look.
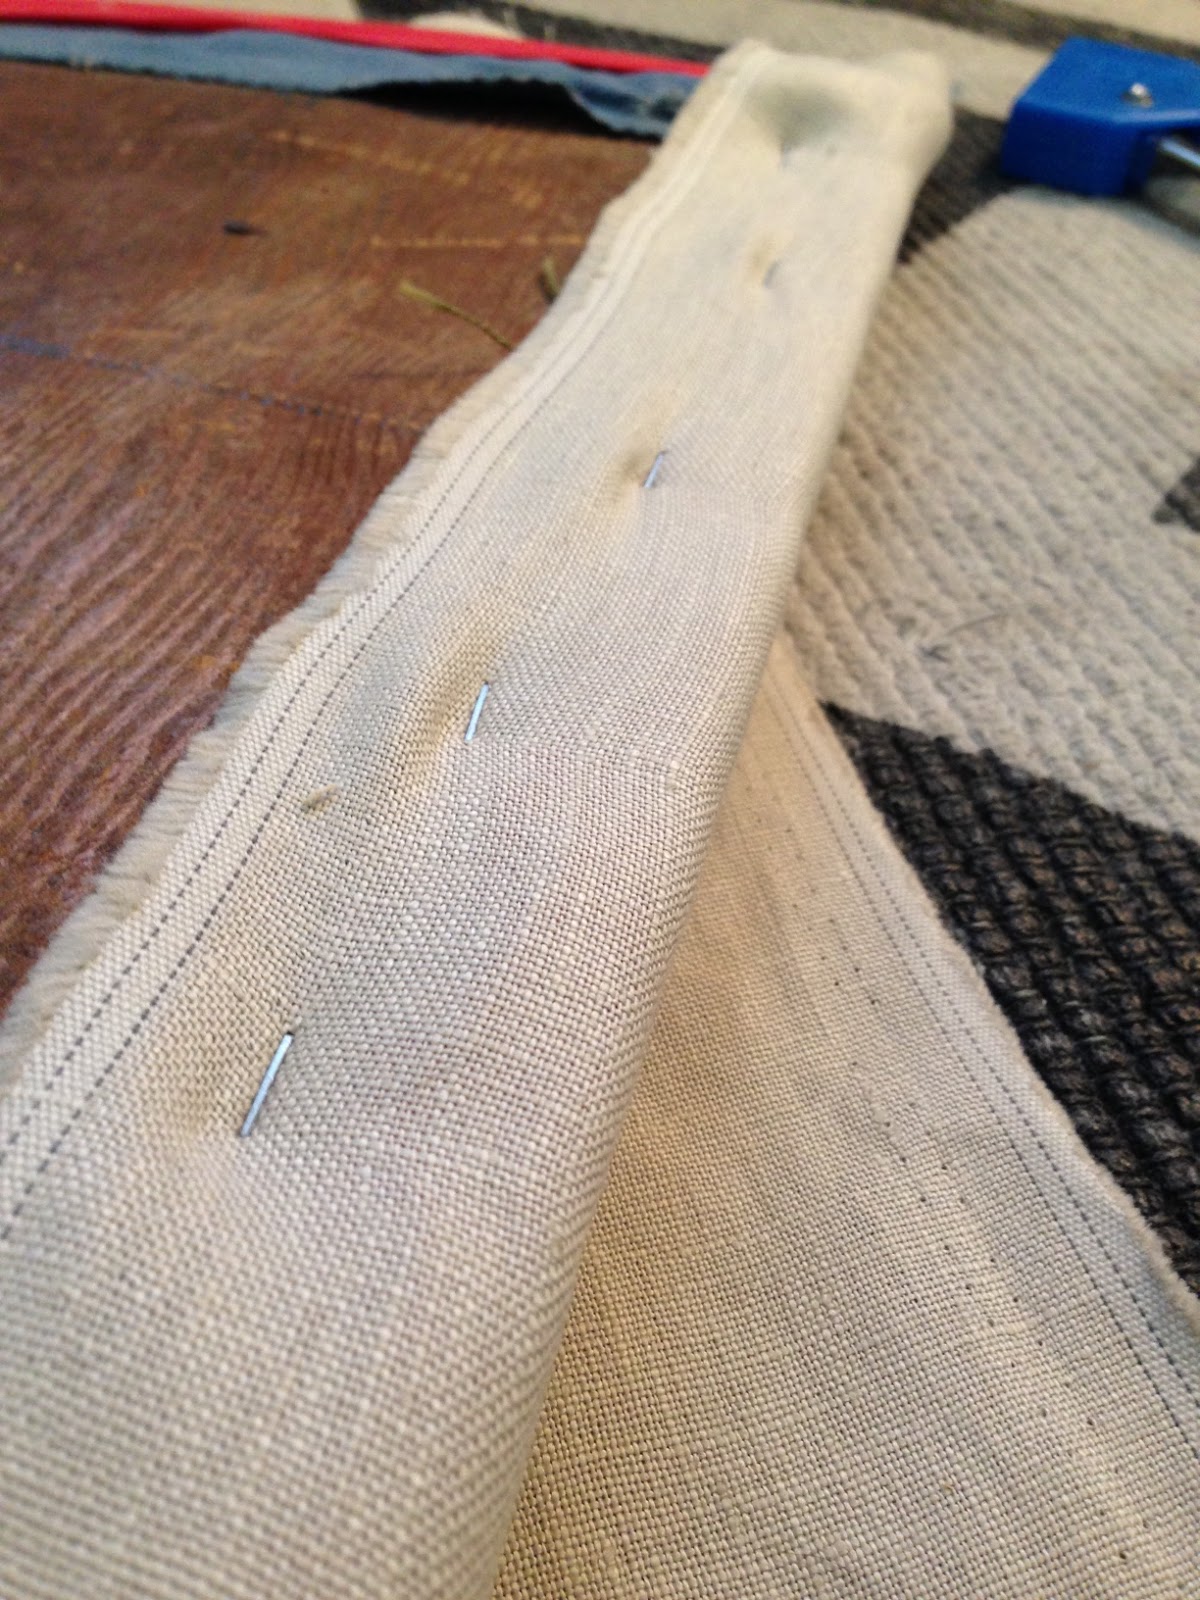
I put about 6-8 staples on each side, about 1" in from the edge.

I made sure to staple almost exactly in the corners, which is important in my next step.

Step 5: Corners
Most of this job is pretty easy, which is why it's important to make sure your corners look good. If they look bad, they can make the entire job look cheap.

(excuse the chipping nail polish) I did the corners in a three part process. I would first staple at the corner, then fold over in about a 60 degree angle and staple that.

I would then pull another section over to make it flush with the next edge of the chair. This made the corner nice and neat without bunching up.

finished corner.
And here is the finished product, with all 6 chairs recovered:

At first I thought about painting the table and chairs, but I'm thinking we might either leave everything natural and just refinish the top, or refinish the top, paint the base and legs of the table black, and leave everything natural. What are your thoughts? Do you think it's too old fashioned?

Ahhhh so much better than red!


Corner detail (not perfect, but better!) and the natural texture of the fabric.

The view from the couch after a night of projects.
The whole process took only about 2 hours. I had Mark's help with removing and replacing the cushions on the chair, so if I count our time together I would say this could take up to 4 hours max. However, isn't the end result worth it?
Let me know what you think of our new table and chairs!
Wow just the simple fabric change makes such a difference! I like the idea of keeping the table top natural and painting the legs and bottom black. Or maybe just keep it entirely natural for a few months and see how you feel. Painting it entirely could be cool and make it more "you" but it's definitely a bigger commitment!
ReplyDeleteThe absence of red in that room totally changes it!
DeleteI'll definitely live with the table for a while before I make any big decisions. I want to keep most of it natural, I think.
Looks great Di! I remember when your mom put the fabric/plastic on them...once you have a couple messy munchkins running around you might appreciate the plastic a little more. ;)
ReplyDeleteDid you not have a Joann's coupon?!? Download their app and you can pull it up at the register, they almost always have a 40% off.
Hmmm I don't think plastic is ever acceptable when solely used as a buffer on furniture, but I could definitely invest in a stain-stop or maybe even some indoor/outdoor fabric. I think I know a thing or tow on that subject...
DeleteI second Melanie, and I love the change but I was thinking that I would totally spill something on that light-colored fabric and regret the choice. :( So good luck with that. I'm surprised you are considering keeping it neutral! I probably would, but it seems old-fashioned compared to your usual tastes, but hey--you're the pro. Black legs and all might look cool too.
ReplyDeleteSee my reply to Melanie re: plastic above! All in all, this wasn't a difficult or expensive project. So, if you're right, I'll re-evaluate in a couple of years and go with something more durable.
DeleteI think it does seem a little old fashioned but that is kind of the eclectic idea that I like. Once you see it all together, it isn't so offensively old fashioned. You'll just have to come over and see! :)
Looking good! Makes a huge difference for sure. If you are worried about stains, isn't there some kind of stain guard spray to treat fabrics? Maybe that would help and you could skip the plastic look :) Cannot wait to see your home in person!!!
ReplyDeleteThanks Adie! Good point, I could totally scotch guard these if I wanted! I definitely will skip the plastic look at all costs! haha! Can't wait for you to visit AND to see wittle baby Kate!!!
Delete