wonderfully made

Wednesday, August 13, 2014

Coffee talk

I find it odd that we've been doing this DIY thing for over a year now, frequent Home Depot and Lowe's 2 or more times per week,  yet I posted this instagram photo on Monday night and I had more than one person ask me why we were at Home Depot. Umm...you should know I'm constantly doing things by now! ;)

Anyway, we made an impromptu run to Home Depot for this (among other boring things, like air filters):


Yep, I finally put up my shelf for my coffee bar! To be honest, there was a little switching around shelves and I'll post an update of my bathroom soon, which was on the other end of the switcheroo. Regardless, we have shelving! And I love it!


I think Mark likes it too...

Just for fun, I decided to do a little styling session so you could see different ways I might style it and give me some feedback too! When I style things, I typically walk around my house and pick up things that will fit in the space. This time was no different! I just futz with it until I'm pleased with how it looks.

So here we go:

Option 1 - eclectic mix

This was a little funky and also too busy.

Option 2 - simple and natural


Super simple and nice, but didn't add enough height!

Option 3 - height and variety


The mirror here was TOO tall, almost hitting the ceiling. Plus, it's permanent home is just a few feet away on the wall perpendicular to this coffee bar.

Option 4 - modern farmhouse


I LOVE this option and will probably end up doing this most of the time. 

For now, I ended up going with a mixture of options 1 and 4. I'm going to call it "farmhouse chic" just for the sake of calling it something. I like the black and white picture of Mark and me, the hydrangea (duh) and the coffee sign that Mark bought me on our anniversary because he knew I wanted to do a coffee bar (who knew it would take me almost a year to get it done). I added some plain bowls to match the coffee mugs for a more rustic open-shelving look. 


So what do you think? Who's coming over for coffee? :)

Tuesday, August 12, 2014

Managing your finances

So I debated writing this post because I don't want to get TOO personal, but after talking finances with friends and family, I'm surprised at how many of you guys aren't using mint.com! I wasn't asked to write this and I'm definitely not sponsored (ha!) but Mark and I have found that this works for us and hopefully if I give a little starter course, it will work for one of you!

Mint.com is a personal finance site that is free to use. It basically takes your login information from all of your accounts (you have to provide it and be able to do online banking) and automatically sorts each transaction into your budget, organizes goals, and tells you where you can be saving money. Most people I chat about this with (including Mark and me when we first heard about it) wonder if it's safe. So far, it has definitely been safe! It's just like any other banking website that you trust to handle your finances, and in this case it's just giving you access to all of those accounts in one place. I found this article that might help you make a decision on whether it's right for your family or not. If you're still not sure, do your own research! There are a ton of articles discussing the topic and I'm sure you can find a good answer. 

Let's get started!

This is the home page:


 And this is what our home page looks like after logging in:


(I've obviously whited out sensitive information, all containing dollar amounts. I left some in just so you can see how we budget. I don't think that's super sensitive information. Our account numbers aren't displayed here. If you catch something I should white out, please let me know.)

So Mark and I have gone in and entered all of our account information : checking, savings, credit cards, loans, investments, and property (our house isn't included as property) which shows up on the left side. Once you login, these accounts take about a minute to update with your current information.

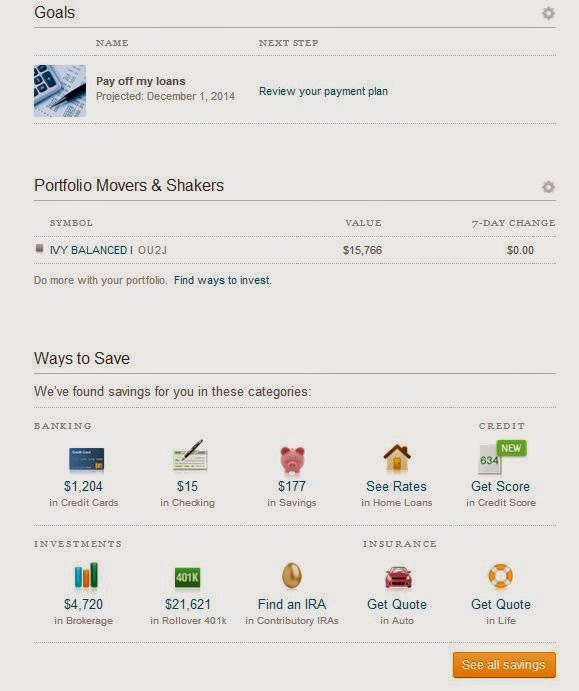
At the top right, mint shows your alerts for upcoming bills. Under alerts, the content will vary. Right now ours is alerting us of bills due, but sometimes there are ways you can save, etc displayed here. Under that, it displays your budget. This is the thing that we pay the most attention to. When you first sign up, you have to go in and set up your budgets. It takes a few months to get this right if you don't know what you're spending day to day. As you go through the month, all of your transactions will get assigned to your different budget categories and as you see, will display as 'green' (meaning you are in the clear), 'yellow' (meaning you are close to hitting your budget) and 'red' (meaning you are over budget). You can set up email or text notifications informing you if you go over or are close to going over.

To the left of budgets, you'll see your trends and net income. This is a good overall view to see your cash to debt ratio as well as your monthly spending habits. 

Underneath your budgets (shown below), mint provides suggestions of ways to save and they estimate what you could be saving. This is especially helpful (I think) for people who are banking but aren't getting rewards (like credit card points, etc). This section recently kicked off a conversation about transferring our savings account to a bank that offered more interest.


You can also set goals for yourself. As you can see, our goal is to pay off debt. You put in how much you want to pay each month and it calculates when it will be paid off and it also keeps track of it as you go! 

So that's the recap of the home page.

Once you have all of your accounts set up, then mint starts tracking your every move. Under 'transactions', you can go in and see everything as it comes in. In the first couple of months, you will have to manually change the categories so mint can start recognizing what budget category it belongs in. For instance, anything relating to sports or disc golf typically goes in Mark-Shopping and anything from Nordstrom goes into Diana-Shopping. :)


Tabs for navigating through your site 


So every few days we go into that list and make sure everything is going to the right place. We also both have the iPhone app so we can keep up with it day to day.

update: I forgot to mention that you can also split your purchases. If you look at the image above, it displays date, description, category, has the little arrow symbols, and amount. The split arrow is for 'split'. For instance, once that Target charge clears (it is pending right now, usually for 2-3 days) Mark or I will go in and split it into different categories. I don't remember exactly what we purchased that day, but I keep track of receipts that I know will apply to multiple categories (I hate keeping receipts so those are the only ones I hang on to). When you hit the split button, it pops up with a window where you can select from all of your categories and split each transaction into however many categories you want. This can seem a little tedious at times, but if you are getting specific with your budgeting, it's helpful to know exactly how much you're spending on dog food, etc rather than lumping everything into "groceries". 

We've had mint.com for over 2 years and we do all of our budgeting this way. It's super visual and precise and I highly recommend it to anyone that wants to try something new! It's definitely made us be more aware of where our money goes, as well as alerting us when we are close to going over budget so we know to scale back and NOT go out to eat that day, etc.

Please email me with any questions or comment below if you've used mint before!

Thursday, August 7, 2014

Pouf placement & a guest bedroom update

Spoiler alert! 

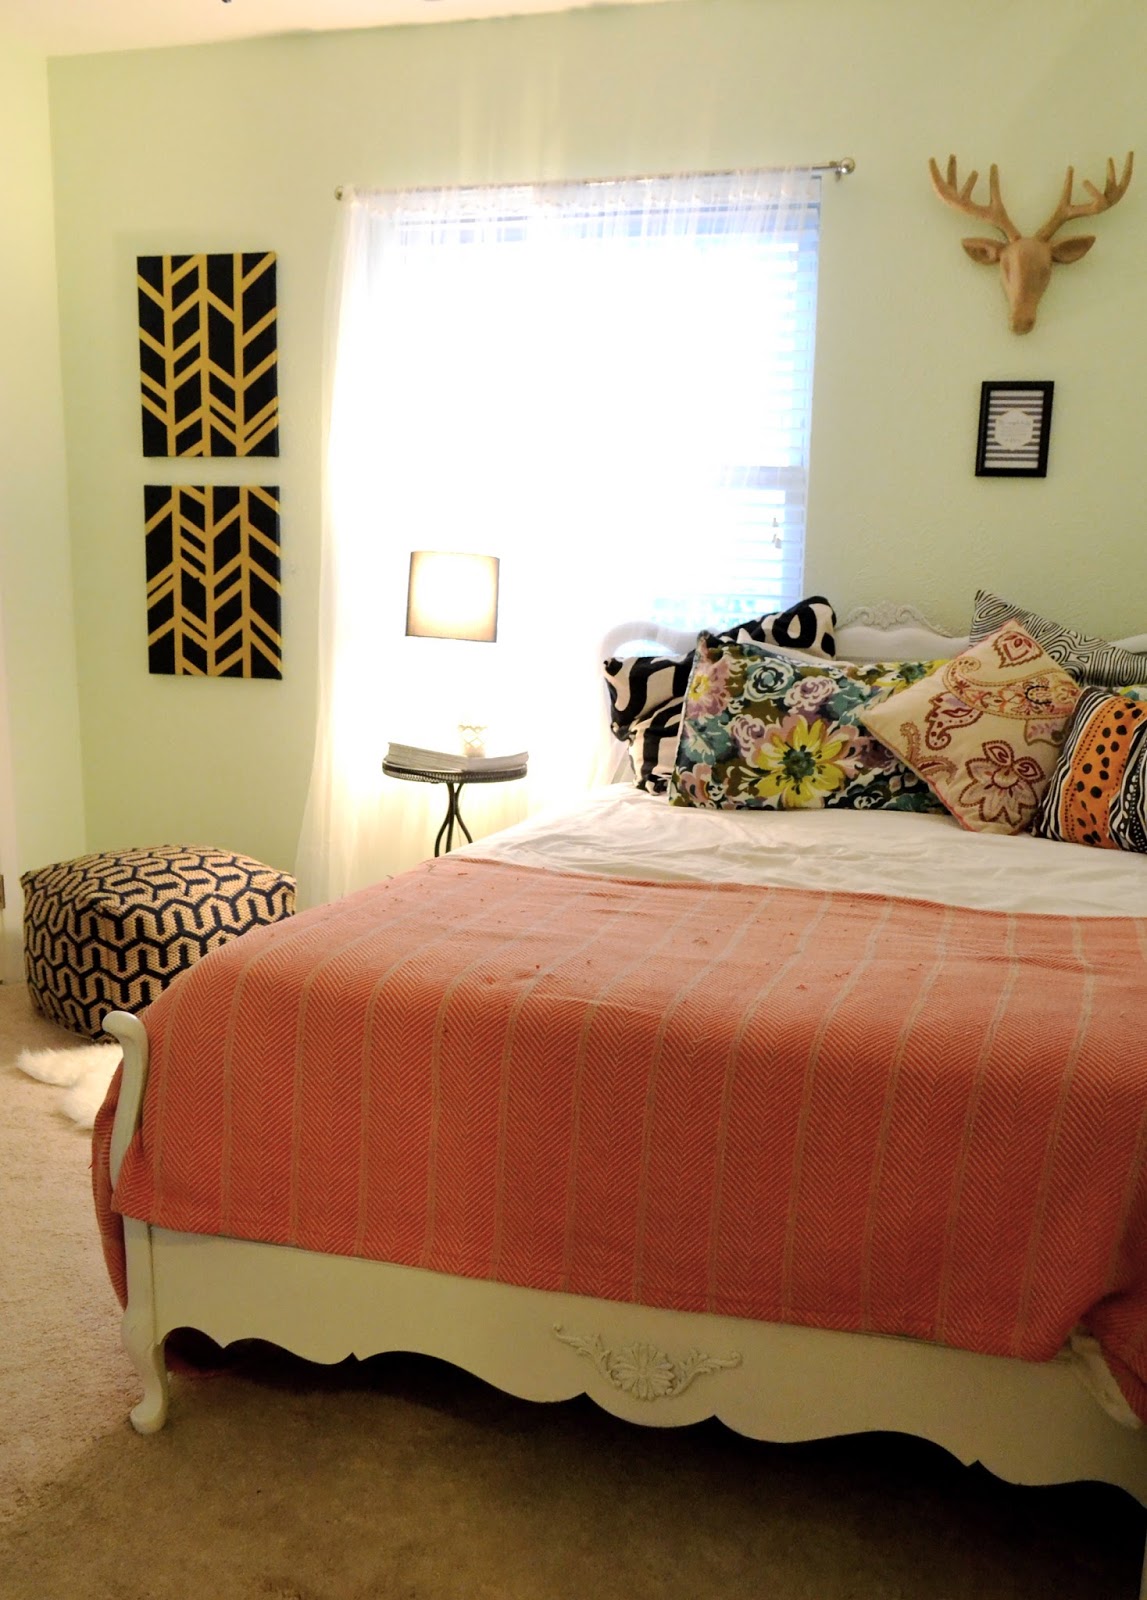
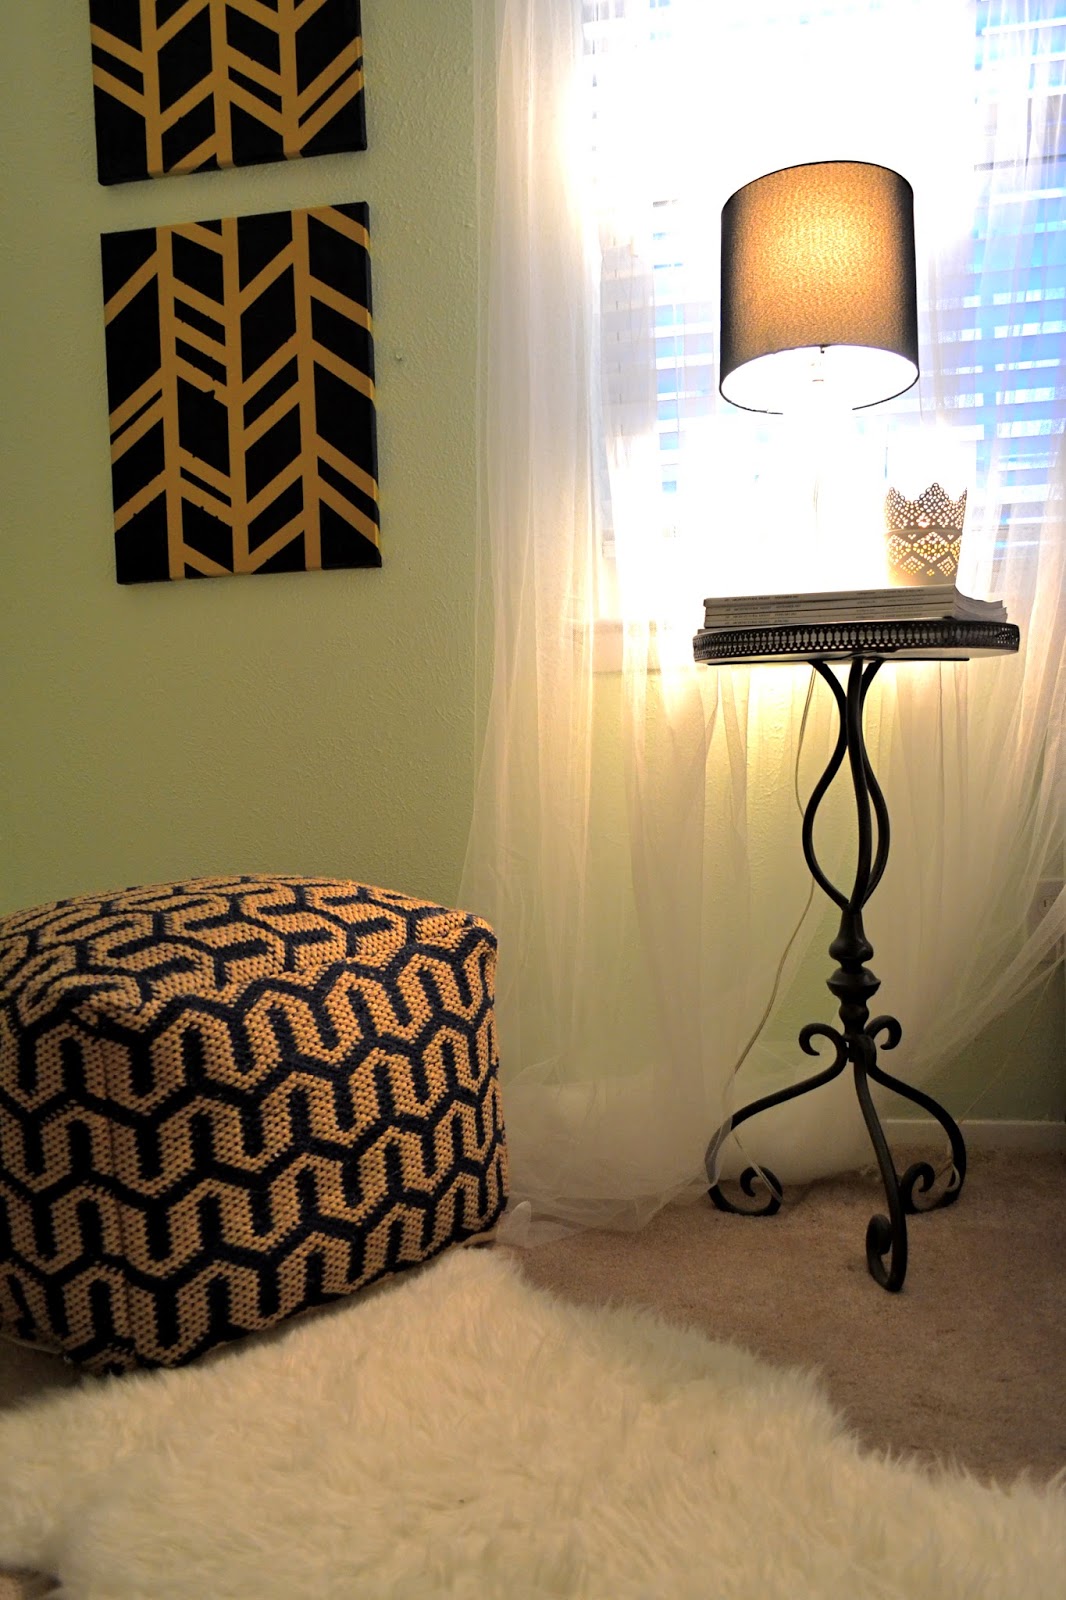
For now, the famous pouf from yesterday's post resides in the guest room. I'd say it's come a long way!


I scored that lamp base at Goodwill for a whopping $7! 


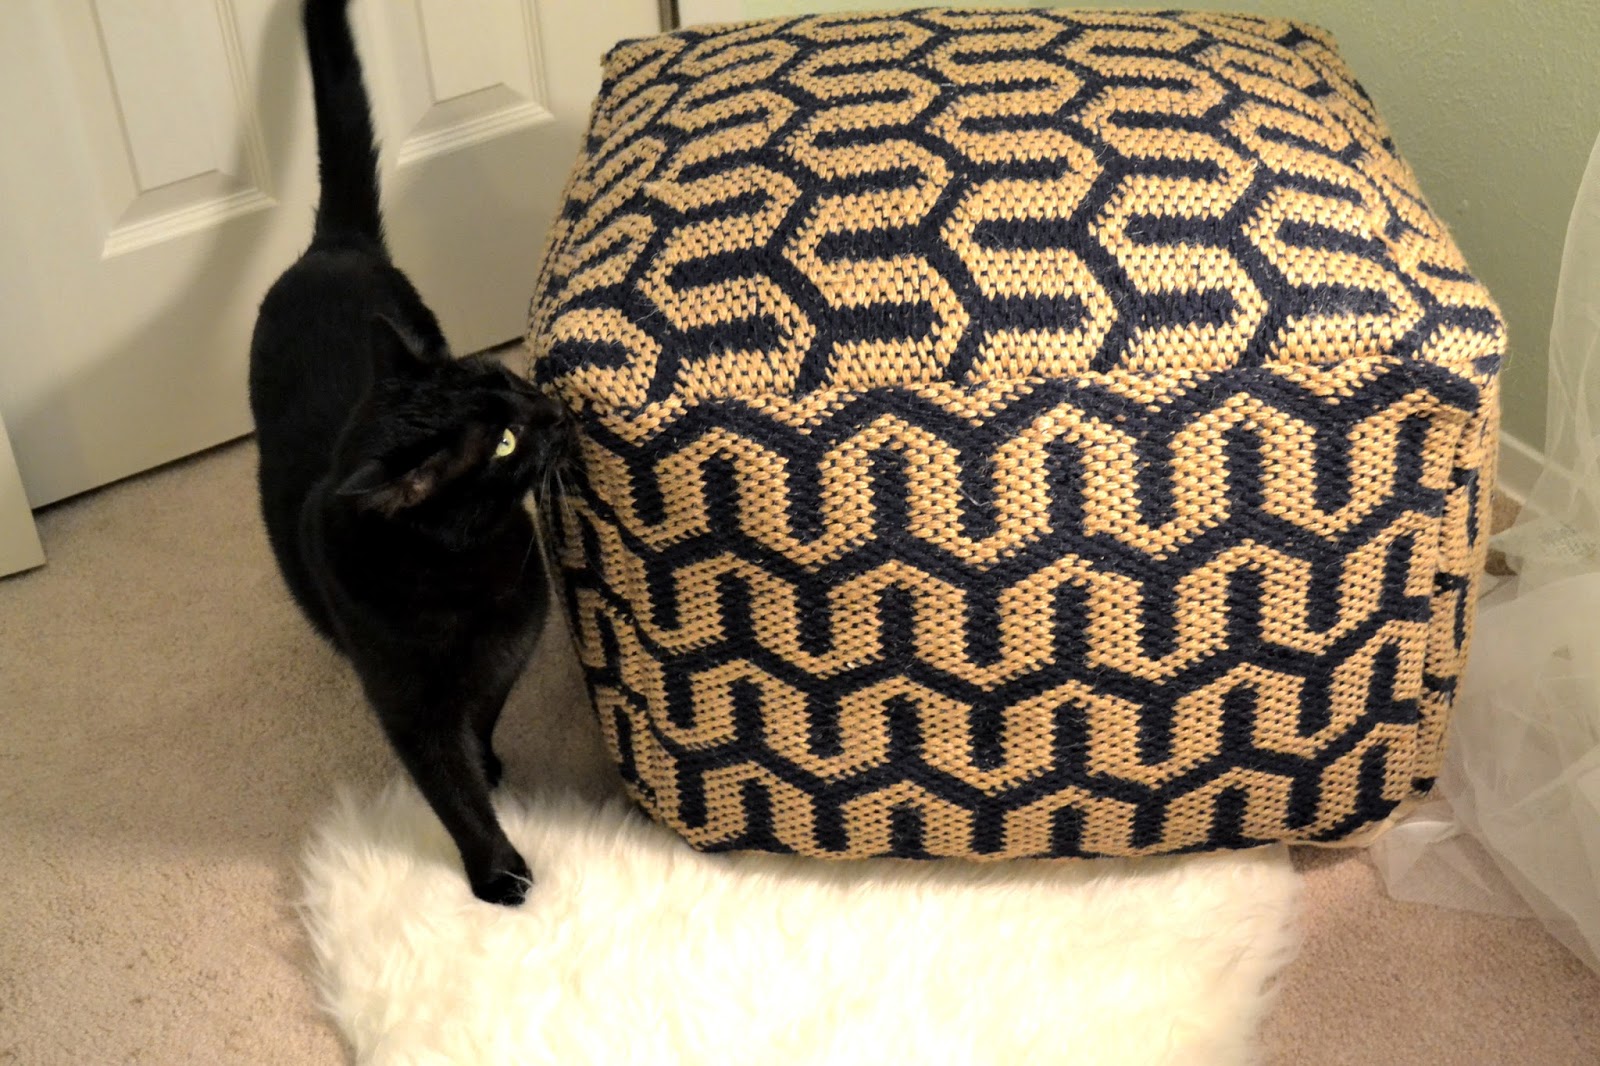
Kitty approves of the new placement.


I'm not calling the space done quite yet, but I think we are open for business. Our nephew Noah was the first one to sleep in the bed, but Emily, Heather, and Brittany; y'all are welcome back any time. :) (and anyone else who wants to come visit us too!)

Wednesday, August 6, 2014

Priceless pouf

Okay.

So Target has these poufs. They are kind of awesome. I've had to drag myself away from them for the last 6+ months they've been in stores, but that's what I do. I'm a savvy shopper and I can't buy anything that isn't on sale.


SO. Imagine my delight when I watched them slooowwwwllyyyy get marked down in stores while still having a good variety of pattern options SHOULD I want to purchase one. I was super excited. They went from $59.99 (call it $60) to $42, which isn't a bad deal at all.

But wait. I have this handy dandy thing called Cartwheel. It's a Target app (this might be a good time to mention that I'm not paid to endorse Target in the slightest) that you use kind of as a coupon book. You can add up to 17 deals and then the cashier scans the bar code at the register and it calculates your savings. Kind of like the online coupons for your Kroger card. Kind of. So anyway, turns out Cartwheel had a coupon for these poufs. 25% off. Yes ma'am. I said 25% off.

BUT WAIT. There's more. We have a Target debit card. Nope, not credit, because like I said, we are savvy. Debit. 5% off with every purchase, that's right! 

If you can't do the math, I'll do it for you. I got this puppy (no name yet) for $29.93. I'd say that's a score!


My problem is this: it goes well with our color scheme in the living room...


...but it clashes pretty hard with this rug. Eeks!!! 


I'm thinking about going for a Sisal rug because Mark and I both like having one here to ground the seating area. I haven't quite pulled the plug on it yet, though. In the meantime, I'm testing it out in other rooms.

For example, the master bedroom:


And also the guest room/office:


Kitty seems to have a preference...

What is your thought? Do you think I got a good deal? Where should I place it? I'm going to avert my eyes when they are marked down 50% or more...

I love Target!


Tuesday, August 5, 2014

Housekeeping - my Etsy shop

I'm going to try not to overwhelm you guys with info on my new Etsy shop, but I do want to pop in every now and then to share some news!

I talked about how I came to start my shop here, and it's evolved over just a few weeks into something more and something different at the same time. I named it "sweetsuits" from the beginning because my intention was to sell swimsuits but I've added a few other things and I don't want to limit myself with my shop name. I've since changed it to "and a little bit of stuff". It's kind of a mouthful, I know, but a lot of shop names are taken and I feel like this one is special to me and fitting of what I intend the shop to be. 

I hear the story at least once a year...when I was little, I was asked what I wanted for Christmas and my answer was "Everything...and a little bit of stuff". I haven't been able to live it down! I think it's perfect for my shop because it was just swimsuits and now it's swimsuits...and a little bit of stuff. I have big ideas for other items to post and I'm loving this new venture because I can do it on my schedule. So keep your eyes open as I'll be posting more and more as I get my supplies in...and spoiler alert : I have some REALLY cute things arriving this week that I think you will LOVE!!! 

As always, you can follow me personally and professionally at all of these places:


Email me with any questions about starting your own shop (it's so easy, and FUN!) or even custom requests.

Thanks so much!!!

Monday, August 4, 2014

DIY diaries : paint stroke canvas

Happy Monday, y'all!

I've got a fun DIY to share today! I've been trying to come up with something for this large canvas I have for a few months now. I had this fun love sign at our last apartment, but ended up painting it when we moved here. 


I was less than thrilled with the results, so I took it down and it's been waiting for a stroke of creative genius since then. :)

This is how it's been sitting for the last year:


I managed to find this pin, which got my brain thinking. 


I really wanted something more monochromatic for this craft, so I thought, why don't I start with white paint and do a gradient of added grey? Well, that's just what I did. I happened to have the white paint that matches our trim on hand and just enough grey paint leftover from our master bedroom. I gathered all of my supplies:


I made sure to lay down some butcher paper because Mark is really picky about his garage floors!


I just brushed the white paint on first to cover up canvas. I made sure to go vertically with the short side of the painting because I knew this is the way I wanted to hang it and I wanted the brush strokes to be part of the art. 


Below is after my first and only coat of just white. I covered up all of the gold and purple but didn't stress about getting it perfect because I liked the rough brush stroke. I painted over the nail head on the edges too, since it was black before.


Then I poured out some more white paint into my rolling tray.


I used a paint stick to drizzle just a little bit of grey into the white and started randomly painting on the canvas.


After my first coat:


I waited about 30 minutes between coats and continued adding more and more grey with each coat until I got it as dark as I wanted it. There are probably about 5 different shades overall. My goal was to be as random as possible but make the piece look whole. 

Here's my finished product:


Here it is in it's final resting place:


I have to say, this is probably one of my favorite DIY art pieces. It's super subtle and doesn't distract from all the other pattern/art I have going on in this room. It was also really easy. This is the 4th thing that has been on this canvas. Do you reuse your canvases too?

Like I said, I had everything I needed at home, but it would be relatively cheap for you to do it even if you don't have everything. Just start with a new canvas (between $5-$30 depending on the size) and buy some white paint as well as whatever colors you want to use. I may end up doing some smaller canvases with more color for pops of homemade art around the house. Love it!