wonderfully made: home decor
Showing posts with label home decor. Show all posts

Tuesday, January 19, 2016

from drab to...not so drab

Come on in! Or should I say out?


Our porch needed an overhaul. That's the short story.

The long story goes something like this: Diana has big dreams of selling her first home and making enough money to move to a bigger, nicer home. Diana reads up on how to prepare your house before selling, sees curb appeal and first impression as one of the top things to do, and sets in motion redecorating the porch that has been ignored for too long.

Key words here are 'big dreams' so don't read into anything. We aren't even close to listing our home OR buying a new one and we don't know when that will happen. I am just a dreamer with too much time on my hands (except not literally, of course) and I took it as a good excuse to do some sprucing. 


I started out with a new rug. I browsed large outdoor rugs for hours but I knew in my heart that I wanted black and white stripes. Stripes are my love language and I was pretty sure I wanted to stay neutral since our house was already working with mostly neutrals. 


As an afterthought, I threw down my circular sisal rug that I found at Crate and Barrel for $15 about 4 years ago (that used to be somewhere else...remember these days?)


Next up was the chair. I had bought a teal chair from Target a couple years ago that sat here before but I just wasn't loving it. 


It was clashing with the brick and didn't work with what was in my head so I sold it to a neighbor and picked up this chair at Ikea the same day. The neutral worked for me and it was $20 cheaper than the black, so I snagged it. I have a can of black spray paint if the mood strikes. 


I pulled the pillows from inside and left our Home Sweet Home canvas up where it was.

While I was at Ikea, I was looking for a variety of pots, not really knowing what to do. I found these hanging planters and instantly knew they would go perfect with our scalloped entryway. I'm having a REALLY hard time growing anything on our porch (more on that later) so I picked up some faux plants and called it a day. 


The "B" sign was a housewarming gift and I've loved changing it out for the seasons. I tied on a greenery garland from Joann and added a leopard bow (another love language of mine) and it might be my favorite part of the porch.


That's just part one; the easy stuff. I still have a list of some more intensive items that I want to check off like:

-paint the floor (it was already painted blue but the majority of it has chipped away. I'm thinking grey?)
-re-paint the front door
-add natural bead board or wood to the ceiling; something like this
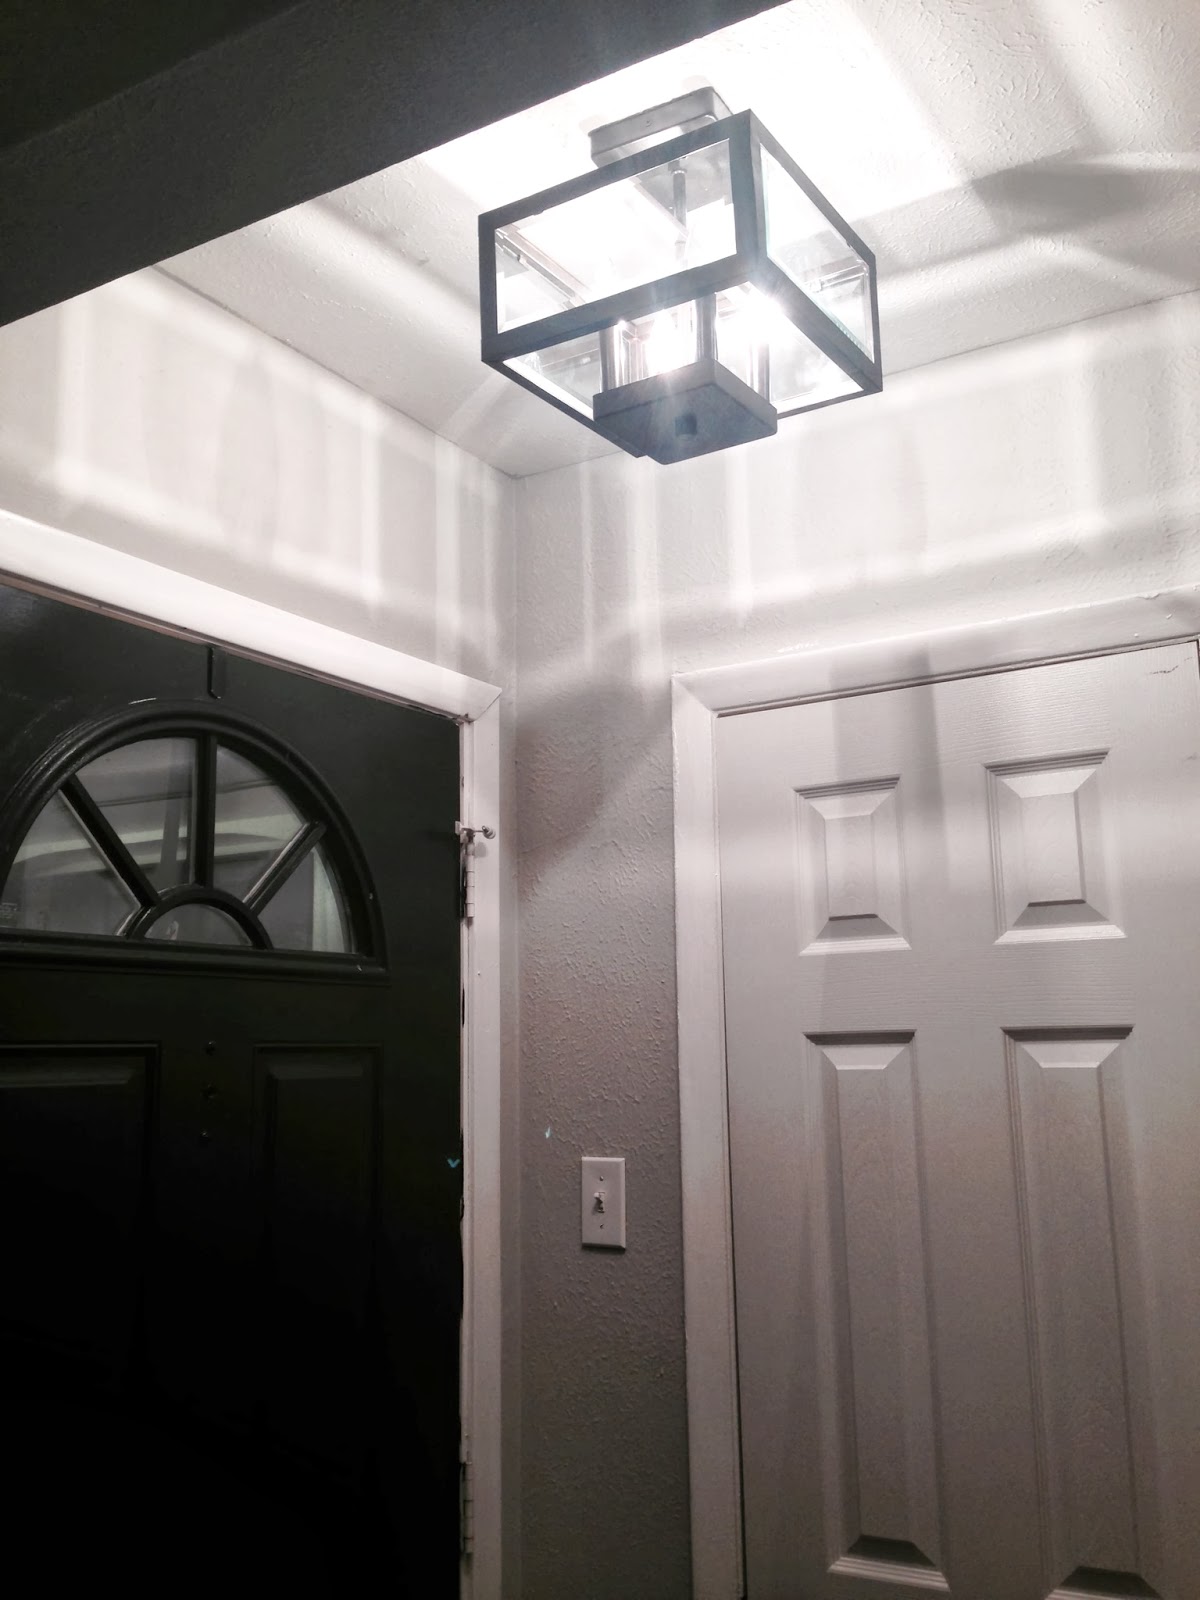
-replace the light (possibly)
-add pots/plants/decor on the ground to fill in the corner where the chair sits

That last point is the one I'm dreading the most. We've been here for two and a half years and I don't have a single surviving plant from our porch. Our house faces north and the porch is enclosed, as you can see, and everything just withers away. I've pinned some articles here about some shade-loving plants but I don't know...should I just go faux? I'm waiting to do this one until it's warmer, and the rest of the projects are waiting until my husband feels like helping me out (so don't hold your breath).

Still, I'm loving my quick little porch update!


dmariebuchanan@gmail.com Image Map

Monday, February 10, 2014

Let there be light!

I never once thought that one day I would be the one giving Mark sad puppy eyes in Home Depot in order to get my way. But I was that person. 

Here's why:


Yes, that would be our ugly, barely functioning entry light. I blogged WAYYYY back in the day about seeing this fixture at Home Depot, and I just knew it was "the one". We have a pretty limited budget when it comes to these things and most of what was available in our price range is what I like the call the 'boob light' (don't google that). 

Exhibit A:


We do have a few of these in our hallway, but they don't bother me near as much as the one in the entry. 

I know you are dying to know if my puppy dog eye tactic worked...well, it did (duh). We ended up with the light I had been oogling for about 5 months!

We came home and got straight to work. Well, one of us did. Being married really pays off in these situations! I have to hand it to Mark though, he has learned a lot and done really well in the last 6 months. This was his third light installation and he has gotten really quick too!


It only took him about 20 minutes (and a trip to Home Depot because the jbox housing (?) wasn't included in the box we happened to grab) and we were up and MUCH brighter!


I LOVE it. I love love love love love love love it. I might love it a little bit better than the light he installed over the kitchen sink.  I am so glad we made the change and it looks SO good here! 

Next up, have you thought anymore about what I should do with the ceiling? Check here if you missed that post back in the day!

Are you as glad as I am that we made the change?
Happy Monday!


Thursday, January 23, 2014

Bookshelf diaries

Bookshelves are underrated.

Built-in bookshelves, especially.

Just look at how a well-styled bookshelf gives the room (and it's owner) a defined personality:


I can only hope to one day own a home with built-in bookshelves, but for now, I have to start small. I did so a couple weekends ago by purchasing this bookshelf from Ikea. I had seen this Pin previously and had similar ideas for my new purchase:


I'm not convinced (and neither is hubby) that we should spray paint it, although that is what drew me to the original inspiration. What do you think?

Here's where we are so far:


Obviously, I need more books!


Wednesday, November 13, 2013

blocks and bricks

Here's some insider info:

Mark and I have purchased countertops, backsplash, lighting, and a sink for our kitchen. This may be the best week of my life for that reason. I am SO excited about our kitchen reno so I've been all over the Internet finding even more inspiration. Take a look!


How cool is the cutting board integrated into this countertop? And the lighting?! And the glass front cabinets at the top?!?

This butcher block is such a warm color and the kitchen is happy in general. Don't you love the darker lower cabinets and light uppers?
I love the bay of windows behind this sink. Wish we could do a farmhouse sink like the rest of these inspirations!
via

I love how crisp and feminine yet modern this kitchen is.
via

Dying over this plank ceiling. Love the counters, too!


This is what I'd love to do with our subway tile. Just white, white, white!

Such a happy wall with the crisp tile and wood shelves. Love the open shelving!

Ditto!

Monday, November 4, 2013

Oh, deer!

Happy Monday!

I hope everyone had a good weekend. Mark and I had another much appreciated low-key weekend, which meant I was able to get things done AND blog about it!

If you follow me on Pinterest, you can tell that I'm crazy and pin way too many things. I do try to stay realistic and pin things that I would someday like to try. I knew when I pinned this image that I would be adding it to my project list:


It's the Blooming Reindeer Pillow that was previously sold for $88 at Anthropologie. 

If you look closely, the deer is actually comprised of needlepoint, but I wasn't going for an exact copy, just something similar because I liked the look. 

This was the site that the image was pinned from...

...And this was their final product:


Like the bad student I am, I didn't even bother reading the 'how-to' on the site where I found this and instead I just used the Anthropologie pillow as inspiration and I started off on my own. 

I'm always checking out Ikea's pillow section and I picked up two grey and white striped pillow covers ($3 each, I believe) about a year ago for our house. You know I love stripes, so I found it was easy to work them into our decor. 

I then purchased two different fabric patterns at JoAnn about two months ago intending to use them to make a valance in my bathroom. Since then, plans have changed so I had some extra fabric laying around. Once I got to thinking, I realized I could use a striped pillow cover and the fabric I already had to make this pillow.

I neglected to take photos of the process, but basically I purchased some double sided fusing cloth from Hobby Lobby in the fabric section. Then I free handed the deer silhouette from the photo on my phone. If you read the original blog post, they link to a print out so you can easily transfer it to your fabric. I like to make things more difficult than they have to be, apparently! I cut out the pattern from the fabric and then traced and cut out the fusing cloth to match. I followed the instructions that came with the fusing cloth and ironed it to the striped pillow cover. Wherever there was overlap, I used my sharp sewing shears sort of like an exacto knife and carefully removed the fusing cloth that was showing. Then I used some thread I had on hand to stitch the edges for some extra detail. Ta-da, that's it!

In one day for relatively no cost I went from this:


To this:


Mark is still undecided about my deer-head pillow, but I love it! It was a relatively easy project and it was even better since I had almost everything on hand. 

If you're interested in something like this or similar, message me and I'd be happy to talk details! :)

Have a great week!

......................................................................................

One more thing! Please be sure to check out my Etsy shop! I've added lots of things, tweaked some things, and lowered prices on many of my handmade custom items. I hope you can find something you like and I always welcome your feedback. Thanks so much!!!

Monday, October 7, 2013

Weekend wall art

Happy Monday ladies and gents!

First off, how amazing was the weather in Dallas on Saturday??? It was rainy and went from 75 in the morning and dropped all day to about 52 at night. It was the perfect day to layer up, open the windows, and get some work done! That being said, we did ALL the laundry in the house and managed to do some deep cleaning, cooking, and DIY projects. I'll be sharing those on the blog this week, along with a few snippets of our Fall and Halloween decor. Stay tuned! :)

One thing that I am always wanting more of is art or wall decor. I have tons of picture frames and I end up making collages out of those, but many times you need a bigger piece of art in your home to make it more personal. Here's the problem: we're not millionaires. We can't go to an art show and drop $1000 on a piece of art, and even if we did, I would be terrified that my tastes would change and I would end up not liking it. Since my taste does seem to vary often, I'm always keeping my eyes open for some DIY art ideas.

Here are two images that I pinned about a month apart from each other:

Wall pattern
This nursery wall, via Pinterest, is so cool! 

Spray paint a canvas gold, tape down a design, then paint with another color. Cute and easy.
These canvases via Etsy have just the right pop with the metallic peeking through. 

Notice a pattern? I liked these because of the geometric look and it looked like they would be pretty easy to make. Plus, the larger canvas in the second image, from Etsy, goes for $97.50! That's a little steep for a bargain hunter like me, so I decided to give it a go myself.

I looked long and hard for the original photos of these canvases, but I can't find them. I bought a 2-pack of canvases about 5 years ago and painted them when I was still living in the dorms at Tech (so a LONG time ago!) I outgrew them, and was looking for a project and this was the perfect one!

First, I covered them both in gold metallic paint, from the Martha Stewart Home collection.


Then, with 1" painters tape, I marked off my sections (I want the gold to show through, so anywhere the blue tape was, that is where the gold would be) and made sure the wrap the tape over the edges as well, since that will show too.


Once I was happy with my finished product, I mixed black and blue and painted two coats of navy paint over both canvases.

coat 1

coat 2


I did some laundry, checked Instagram, and let the paint dry and settle for about two hours. Then, I slowly removed the tape from the edges to reveal the gold underneath!


Don't be too worried if your paint bleeds through the tape. Embrace it, because this your work of art!


I continued removing the tape, stuck a few nails in the wall, and voila! New bedroom art!


I really like how it brings the eye up. Everything else in the room right now is pretty low, so these help give it more height!


Like I said, embrace your errors! Bleeding above and streaks in the navy below, but it's mine and I love it!


So, what do you think? Would you take the time to do this, or spend $100 for something off of Etsy?

Next item on the to-do list: window treatments in the the Master bedroom! I'm thinking something natural...

......................................................................................

One more thing! Please be sure to check out my Etsy shop! I've added lots of things, tweaked some things, and lowered prices on many of my handmade custom items. I hope you can find something you like and I always welcome your feedback. Thanks so much!!!